Why Are My Houseplant Leaves Turning Yellow? (10 Causes + Exact Fix)
After diagnosing hundreds of yellow-leaf cases across dozens of plant species, we've mapped the ten distinct causes that look nearly identical at first glance — and built the only systematic guide that tells you not just what's wrong, but exactly how to confirm it and fix it.
Quick Answer
Why Are My Houseplant Leaves Turning Yellow? Complete Diagnosis & Fix: Ten distinct problems — overwatering, underwatering, low light, nitrogen deficiency, iron/magnesium deficiency, natural aging, rootbound stress, pests, cold drafts, and tap water toxicity — all produce yellow leaves that look nearly identical. Use the three-clue diagnostic framework (where on the plant, what pattern within the leaf, how quickly it appeared) to pinpoint the exact cause, then follow the targeted step-by-step fix for each one...
The Real Problem With Yellow Leaves: Ten Causes, One Symptom
Yellow leaves are the most searched plant problem on the internet — and the most poorly answered. The reason is frustrating but simple: overwatering, underwatering, nitrogen deficiency, low light, root rot, cold drafts, pest damage, and four other conditions all produce leaves that turn yellow. Treat the wrong one and your plant keeps declining while you think you've already fixed it.
This guide gives you a systematic framework to identify which of the ten causes is actually affecting your plant, then walks you through an exact recovery plan for each one.
Read These Three Clues Before You Diagnose Anything
Before checking any specific cause, answer three questions. The combination of answers will eliminate most possibilities immediately.
Clue 1: Where on the plant are the yellow leaves?
Only the lowest, oldest leaves: This is frequently natural leaf senescence — a normal process where plants shed their oldest foliage to redirect energy toward new growth. One or two yellowing leaves at the base of an otherwise healthy plant with active new growth at the top is almost never an emergency.
Random pattern across the whole plant: A systemic problem — overwatering, root rot, or a nutrient deficiency affecting the entire root system.
Upper or newest growth first: This is a red flag. New growth yellowing before old growth points specifically to iron or manganese deficiency, or root damage so severe that nutrients can't reach the growing tips.
Clue 2: What does the yellowing pattern look like within each leaf?
Uniform pale yellow across the entire leaf surface: Overwatering, root rot, or nitrogen deficiency — the three most common causes overall.
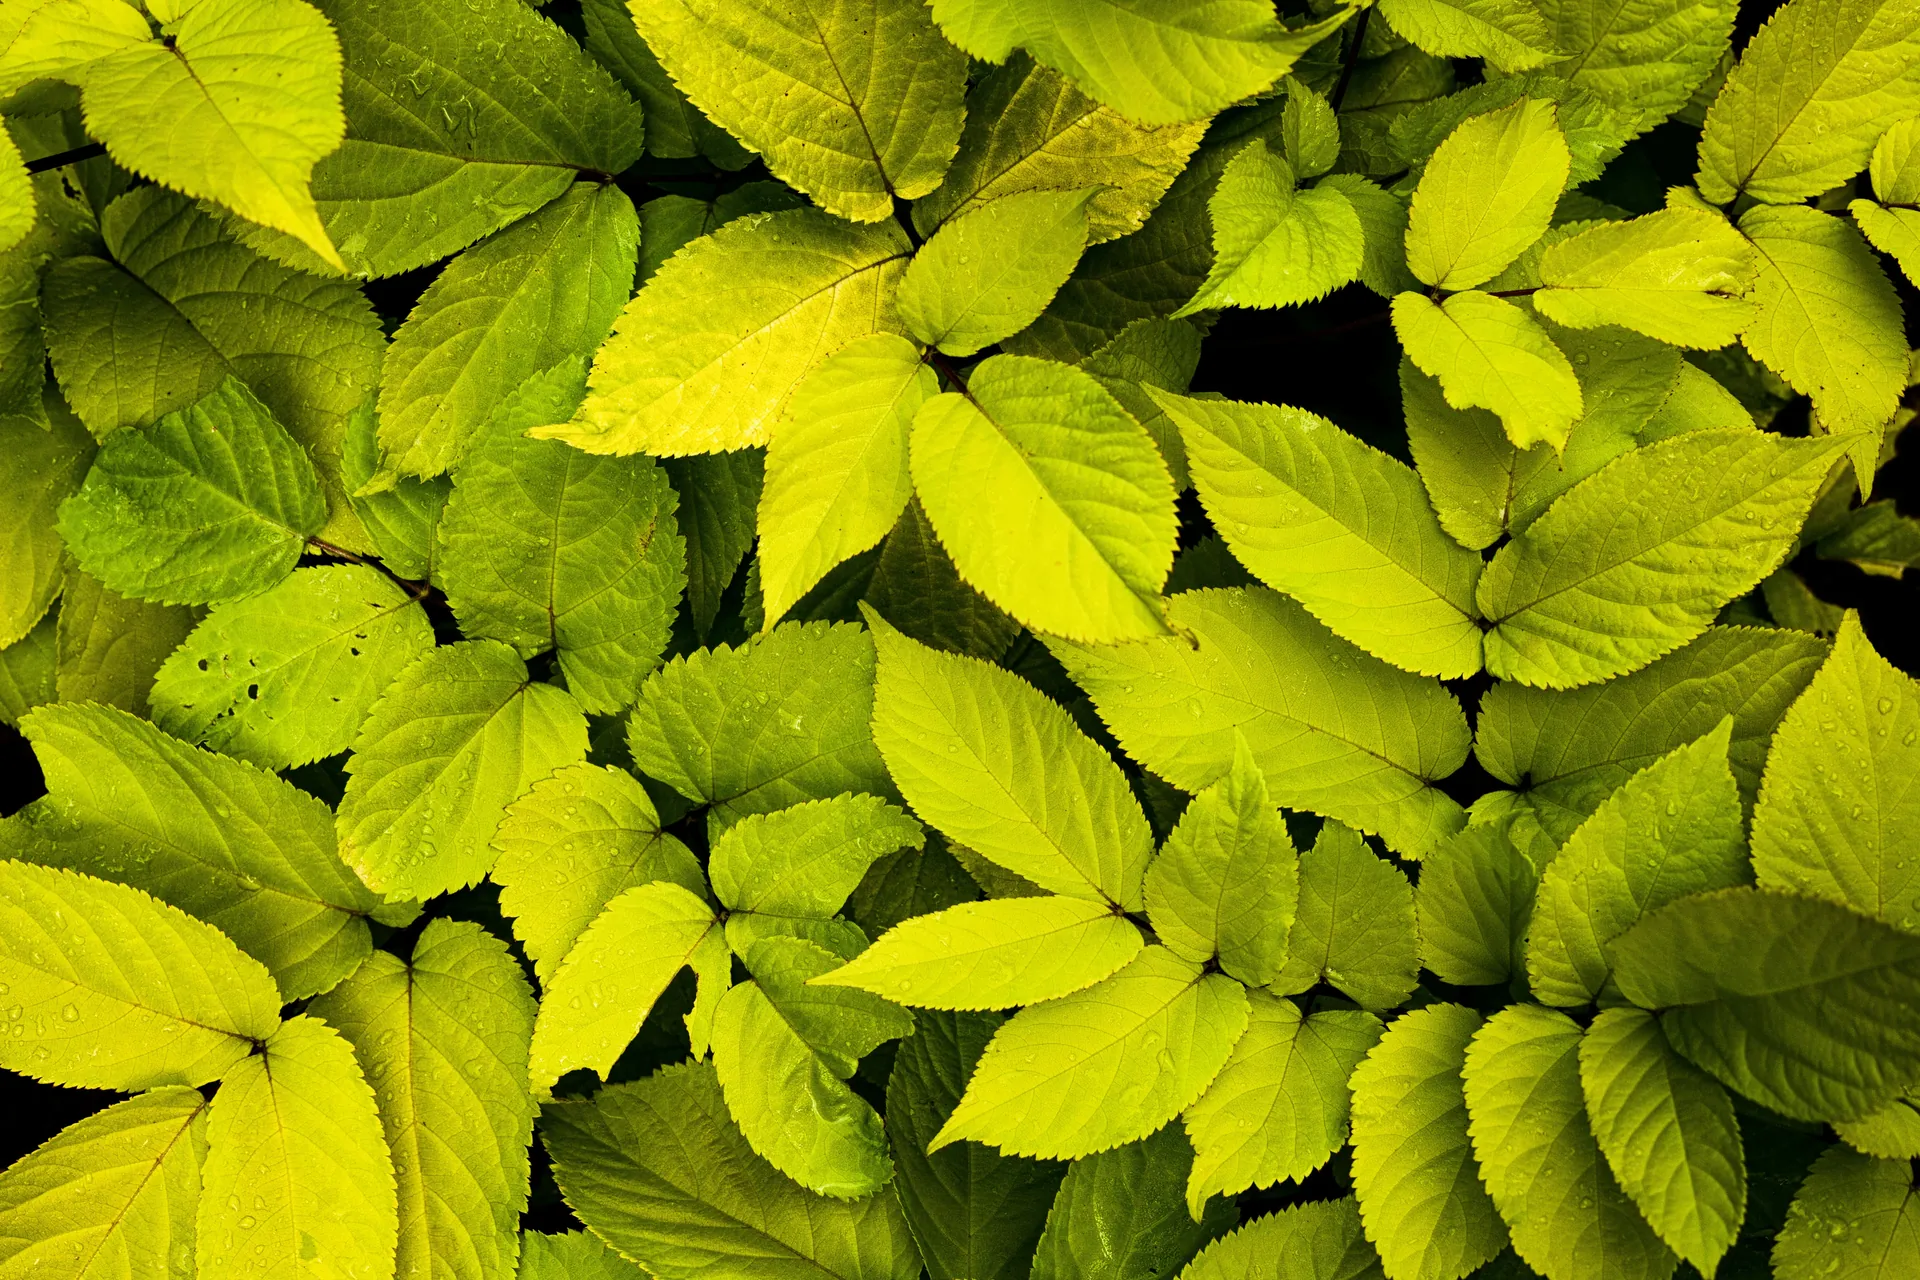
Yellow between the veins while the veins themselves stay dark green: This distinctive net-like pattern is called interveinal chlorosis. It almost always indicates iron, manganese, or magnesium deficiency — or a soil pH problem preventing nutrient absorption.
Yellow tips and margins only, progressing inward: Underwatering, chronically low humidity, fluoride toxicity from tap water, or fertilizer salt buildup.
Yellow with brown spots, rings, or stippling: Pest damage, fungal infection, or cold water shock from watering with icy tap water.
Clue 3: How quickly did yellowing appear?
Sudden — multiple leaves yellowed within days: Cold shock, heat damage, chemical exposure, severe dehydration, or a traumatic root disturbance such as repotting.
Gradual — developed over weeks or months: Nutrient deficiency that has built up over time, slowly worsening root rot, or progressive light deprivation.
The 10 Causes of Yellow Houseplant Leaves
1. Overwatering and Root Rot
This is the number one cause of yellow houseplant leaves in Western homes, and it peaks in autumn and winter when plants slow down but owners continue their summer watering schedule. The cruel irony: the symptoms at the leaf level look almost identical to underwatering. The root zone is where the truth is.
Identify it: Soft, uniformly pale yellow leaves. The stem near soil level may feel slightly mushy. The potting mix smells faintly sour. Slide the plant from its pot: healthy roots are white or cream and firm. Rotting roots are brown, black, or slimy and fall apart when touched. Even 25–30% root rot can trigger widespread yellowing before the plant looks critically ill.
What to do: Remove all rotted roots with sterile scissors, dust cuts with cinnamon or activated charcoal, treat with a diluted 3% hydrogen peroxide solution (1 part H2O2 to 4 parts water), repot into fresh dry well-draining soil, and withhold water for 7–10 days to let roots recover. See our dedicated Root Rot Rescue Guide for the full step-by-step process.
2. Underwatering
Chronically dry soil starves the roots of water and shuts down photosynthesis progressively. Beginners often confuse this with overwatering because a severely dehydrated plant can wilt and collapse in ways that resemble root rot collapse.
Identify it: Dry, papery yellow-brown edges that progress inward before the whole leaf yellows. The soil is bone dry and pulling away from the pot walls. The pot feels extremely light when lifted. Unlike overwatering, there's no sour smell and the stems remain firm.
What to do: Rehydrate slowly using bottom watering — place the pot in a tray of room-temperature water for 30–45 minutes. Avoid flooding from the top if the soil has become hydrophobic (water runs straight through without absorbing). Never over-correct by drenching a severely dehydrated plant; the sudden water surge can shock stressed roots.
3. Low Light
Light deficiency is a slow, creeping cause that builds over weeks and is frequently missed because it develops so gradually. It's the dominant cause of unexplained yellowing during winter, when natural light drops by 40–60% in northern climates and plants are often moved further from windows.
Identify it: Leaves shift from healthy green to pale green to lime yellow over several weeks. Yellowing typically starts at the lower canopy and moves upward. New leaves emerge noticeably smaller than usual. The plant leans and stretches aggressively toward the nearest light source. Growth has slowed significantly or stopped entirely.
What to do: Move the plant progressively closer to a bright window over 1–2 weeks (avoid sudden direct sun on shade-adapted foliage — it causes sunscorch). In winter, supplement with a 6500K LED grow light positioned 12–18 inches above the canopy for 12–14 hours daily. Yellow leaves will not recover but should stop appearing within 2–3 weeks of improved light. A light meter app on your smartphone gives you an accurate lux reading at your plant's position — most tropical houseplants need a minimum of 200–400 foot-candles (about 2,000–4,300 lux) to stay healthy.
4. Nitrogen Deficiency
Nitrogen is the first macronutrient depleted from potting soil, and it's the most common nutritional deficiency in container-grown houseplants. Most potting mixes are completely exhausted of available nitrogen within 3–4 months of use. Plants in small pots exhaust nutrients even faster.
Identify it: Older, lower leaves turn uniformly pale yellow first, then the pattern climbs progressively upward toward newer growth. New leaves at the growing tips look lighter green than normal rather than vibrant. Overall growth has slowed dramatically. When did you last fertilize? If it has been more than 2–3 months during the growing season, nitrogen depletion is the most likely culprit.
What to do: Apply a balanced liquid fertilizer at half strength (10-10-10 or 20-20-20 NPK diluted 50%). You should see the upward spread of yellowing stop within 1–2 weeks and new growth return to healthy color within 3–4 weeks. Do not over-correct by applying full-strength fertilizer — this causes fertilizer burn that worsens yellowing from the tips inward.
5. Iron or Magnesium Deficiency (Interveinal Chlorosis)
This is the most visually distinctive deficiency and the easiest to confirm. It's frequently misdiagnosed as overwatering because the plant looks pale and stressed, but the leaf pattern gives it away completely.
Identify it: The tissue between leaf veins turns yellow or pale green while the veins themselves remain dark and clearly visible — producing a striking skeleton or fishbone pattern. Iron deficiency typically appears on the youngest, newest leaves first. Magnesium deficiency starts on older leaves and works inward from the margins.
Why it happens: In most cases, the soil contains adequate iron — the problem is that the pH has crept above 6.5–7.0, chemically locking iron into a form roots cannot absorb. Tap water in hard-water regions (common across much of the UK, Australia, and the US Southwest) gradually raises soil pH over months and years of regular watering.
What to do: Test soil pH with an inexpensive probe. If above 6.5, flush the soil thoroughly with distilled or collected rainwater to leach alkaline mineral buildup, then water with a mildly acidified solution (pH-balanced fertilizer, or a very diluted white vinegar solution — 1 teaspoon per liter). For fast correction, apply a chelated iron supplement directly to the soil. For magnesium deficiency, a diluted Epsom salt solution (1 teaspoon per liter) applied monthly works quickly.
6. Natural Leaf Senescence (Normal Aging)
This is one of the most commonly misdiagnosed plant 'problems' — and it requires zero intervention. Understanding it will eliminate a significant amount of unnecessary worry.
Identify it: One or two of the very lowest, oldest leaves turn yellow over the course of a week and eventually fall off or dry up. The rest of the plant looks perfectly healthy — actively producing new growth at the top. This happens regularly in virtually all houseplants, and accelerates slightly after repotting, seasonal changes, or minor environmental shifts.
What to do: Nothing other than removing the yellow leaf cleanly once it has fully yellowed. It will not spread to healthy leaves. This is not a sign of declining health — it is the plant's normal recycling process. It occurs in pothos, philodendrons, ZZ plants, snake plants, and nearly every other popular houseplant genus.
7. Rootbound Stress
When roots have filled every cubic centimetre of available soil and begun circling the bottom and sides of the pot, the plant loses the ability to access adequate water and nutrients — even when you're watering and fertilizing correctly. This is common in plants that haven't been repotted in 2 or more years.
Identify it: Yellowing that doesn't respond to changes in watering or fertilizing. Roots are visible through drainage holes or pushing up at the soil surface. The plant dries out significantly faster than it used to — a 6-inch pot that previously needed water every 7 days now needs it every 3–4 days. Slow the plant from its pot: if roots form a dense, tangled mass filling the entire shape of the container, it's rootbound.
What to do: Repot into a container only 1–2 inches larger in diameter using fresh potting mix. Never jump to a dramatically larger pot — excess soil holds moisture that stressed roots can't use, creating conditions for root rot. Gently loosen the outer root mass before placing in the new container. Expect 2–4 weeks before yellowing stops as the roots establish.
8. Pest Damage
Several common houseplant pests cause yellowing well before you can clearly see the pest itself. Spider mites, fungus gnat larvae (which attack roots, not leaves), mealybugs, and scale insects all produce yellowing as a secondary symptom of their feeding damage.
Identify it: Yellow spots or stippling across leaf surfaces rather than uniform yellowing — tiny dots arranged in a scattered or concentrated pattern. Leaves may also be distorted, sticky from honeydew secretions, or show fine silvery webbing on undersides (spider mites). Fungus gnat larvae feed on roots and cause yellowing that looks very similar to overwatering. Check: do you see tiny dark insects hovering near the soil? Check leaf undersides under a bright light or magnifying glass for moving dots or cottony white clusters.
What to do: Isolate the plant immediately to prevent spread to neighbouring plants. Treat spider mites with diluted neem oil spray applied to all leaf surfaces, including undersides, every 5 days for three cycles minimum. Treat mealybugs with 70% isopropyl alcohol on a cotton swab applied directly to each cluster. Address root-feeding fungus gnat larvae with a hydrogen peroxide soil drench (1 part 3% H2O2 to 4 parts water) which kills larvae on contact without harming roots.
9. Cold Drafts and Temperature Stress
This is a significant and underappreciated cause, particularly in apartments during winter. Plants sitting directly on cold windowsills can experience leaf temperatures 10–15°F below room temperature. Tropical houseplants exposed to below 50°F (10°C) — even briefly — can suffer lasting cellular damage that shows as yellowing or blackening within days.
Identify it: Rapid yellowing or blackening of leaves nearest the cold source, while leaves on the other side of the plant look fine. Affected leaves may initially appear water-soaked or translucent before yellowing. Cold damage often happens overnight when curtains are drawn, trapping the plant between the cold glass and the room.
What to do: Move the plant away from direct contact with cold glass. In winter, position plants on shelving or plant stands away from windowsills rather than directly on them. Create a buffer with a curtain between the plant and the glass overnight. Remove damaged leaves — cold-damaged tissue will not recover. Air conditioning vents in summer cause identical symptoms: always check whether a vent is blowing cold air directly onto any plant.
10. Tap Water Toxicity and Fertilizer Salt Buildup
This is a slow-accumulating problem that worsens over years rather than weeks. Municipal water contains fluoride, chlorine, and dissolved minerals that accumulate in potting soil with every watering. Plants that are particularly sensitive include spider plants, dracaenas, peace lilies, and calatheas — but all houseplants are affected eventually.
Identify it: Yellowing that starts at leaf tips and margins and progresses slowly inward across many leaves simultaneously, producing a consistent burned-edge appearance. A white or tan crust visible on the soil surface or around drainage holes confirms mineral salt buildup. The issue is more pronounced in plants watered exclusively with undiluted tap water for a year or more, or in plants that have been over-fertilized.
What to do: Flush the soil by running a slow stream of distilled or filtered water through the pot for 3–5 minutes until it runs clear from the drainage holes, carrying dissolved salts out with it. Repeat this flush monthly. Switch to filtered water, collected rainwater, or allow tap water to sit uncovered overnight before use (this dissipates chlorine but not fluoride or dissolved minerals). Scrape away any white salt crust from the soil surface before flushing.
The Yellow Leaf Diagnostic Checklist
Work through this in order and stop at the first match:
- Check soil moisture first. Push your finger 2 inches into the soil. Wet, soggy, or sour-smelling: overwatering or root rot. Bone dry with soil pulling from pot sides: underwatering. Proceed to step 2 only if moisture is normal.
- If soil is wet, check the roots. Slide the plant out of its pot. Slimy, brown, or collapsing roots: root rot. Dense, tightly coiled roots with no loose soil visible: rootbound.
- Check the yellowing pattern within the leaves. Uniform pale yellow: overwatering, nitrogen, or light. Yellow with green veins remaining (interveinal): iron, magnesium, or pH. Yellow tips and edges: tap water, salt buildup, underwatering, or humidity. Yellow spots and stippling: pests.
- Check the location of yellow leaves on the plant. Only the 1–2 lowest leaves while top growth is healthy: natural senescence. Top or newest growth yellowing: iron deficiency or severe root damage. Random throughout: systemic issue.
- Check for pests. Inspect all leaf undersides and stem joints under bright light. Look for movement, webbing, cottony clusters, or brown bumps.
- Check light levels. Is the plant more than 6 feet from a window? In a north-facing room? Was it recently moved further from light? Has it been indoors through winter without supplemental lighting?
- Check for cold exposure. Is the plant touching or close to cold glass, an exterior wall, or an air conditioning vent?
- Check fertilization history. No fertilizer applied in more than 3 months during spring or summer growing season: nitrogen deficiency is likely. White soil crust present: salt buildup from over-fertilizing.
What to Never Do When You See Yellow Leaves
- Don't repot immediately. Repotting a stressed plant causes additional shock and slows recovery. Diagnose first; repot only if the plant is genuinely rootbound or root rot requires soil replacement.
- Don't immediately increase watering. Many plant owners see yellow leaves and assume the plant needs more water, inadvertently converting a borderline case into full root rot.
- Don't fertilize a plant that is already sick. Applying fertilizer when roots are damaged, waterlogged, or in shock causes fertilizer burn that accelerates decline. Restore root health and correct light conditions first.
- Don't move a plant from deep shade to direct sun in one step. A plant adapted to low light will sunscorch in bright direct light, adding new damage on top of existing yellowing.
- Don't interpret one or two bottom leaves yellowing as a crisis. In isolation, one lower leaf yellowing on an otherwise healthy plant is almost certainly natural aging.
Seasonal Yellow Leaf Prevention
Spring (March–May)
Resume fertilizing as new growth emerges — every 2–3 weeks with a balanced liquid fertilizer at half strength. Gradually reintroduce plants to stronger light levels as days lengthen. Check for pest activity which increases as temperatures rise. Assess whether any plants have become rootbound over winter and repot if needed before active growth accelerates.
Summer (June–August)
Monitor soil moisture more closely in high heat — plants dry out faster and underwatering becomes a more common cause of yellowing. Watch for spider mites which thrive in hot, dry indoor conditions. Move plants away from west-facing windows to prevent afternoon sun scorch on sensitive species.
Autumn (September–November)
Begin reducing fertilizing frequency as growth slows. Move plants away from windowsills before overnight temperatures drop. Expect some natural leaf drop as tropical plants adjust to shorter days and changing light angles — this is normal seasonal behavior. Check that plants are not sitting directly against exterior walls as cold begins radiating through.
Winter (December–February)
This is peak yellowing season. Central heating reduces indoor humidity to 20–30%, cold radiates from glass, and natural light drops dramatically. Reduce watering to every 10–14 days for most tropical houseplants in heated homes. Run a humidifier near humidity-sensitive species. Add supplemental grow lighting for plants in north-facing rooms or more than 5 feet from windows. Stop fertilizing entirely or reduce to once every 6–8 weeks. Move all plants at least 6 inches away from cold glass.
Key Takeaways
- Never diagnose by leaf color alone. Location on the plant, pattern within the leaf, and speed of onset are the three most important diagnostic clues.
- Overwatering is the most common cause overall, but looks almost identical to underwatering at the leaf level — always check the soil and roots before treating either.
- Interveinal yellowing, where veins stay dark green, specifically and reliably points to iron, magnesium, or a soil pH problem — not a watering issue.
- One or two yellowing lower leaves on an otherwise healthy plant with active new growth is almost always normal leaf senescence, not a problem.
- Yellow leaves cannot turn green again. Focus entirely on stopping new yellowing; remove yellow leaves once fully yellow.
- Winter triggers more houseplant yellowing than any other season due to the combination of low light, dry heated air, and cold from windows — adjust your entire care routine accordingly.
- Never apply fertilizer to a plant in active stress. Fix root health and light conditions first; then begin nutritional support.
Fertilizer Guidelines
During the active growing season (spring and summer), feed your plant every 4 weeks with a balanced liquid fertilizer diluted to half strength. Reduce feeding to once every 8 weeks during the winter dormancy period. Flush the soil every few months to prevent mineral salt buildup.
Propagation Steps
- Identify a healthy stem or section of the plant.
- Using sterilized shears, make a clean cut below a node.
- Place the cutting in water or a well-draining propagation mix.
- Keep in high humidity and bright indirect light until roots form (usually 3-4 weeks).
Repotting Guide
Repot every 12 to 18 months in the early spring before the active growing season begins. Only go up one pot size (1-2 inches larger in diameter). Always use fresh, well-draining soil to ensure the roots receive adequate oxygen and to prevent root rot.
Toxicity Warning
It is important to note that many common houseplants contain calcium oxalate crystals or other compounds that are toxic to cats, dogs, and humans if ingested. Always keep this plant out of reach of pets and children to avoid symptoms like mouth irritation or vomiting.
Humidity
Aim for a humidity level of 50-70%. If your home is dry, especially in winter, consider running a humidifier nearby.
Soil
Use a chunky, well-draining potting mix containing peat, perlite, and orchid bark to allow roots to breathe.
Recommended next actions
Next Best Actions
Move from reading to action with related calculators, plant profiles, and quiz-based recommendations.
Calculator
Watering Calculator
Calculate the correct watering frequency for your plant based on species, pot size, soil type, season, and climate.
Guide
Why Your Houseplants Are Dying: The Ultimate Root Rot Rescue Guide
After rescuing thousands of rotting houseplants from big-box stores over a 12-year nursery career, we have developed a foolproof method to diagnose, treat, and completely prevent deadly root rot.
Guide
Fertilizer Burn on Houseplants: How to Identify, Fix & Prevent Salt Damage
Fertilizer burn is one of the most misdiagnosed houseplant problems because its symptoms — brown tips, wilting, yellowing leaves — are nearly identical to overwatering, underwatering, and root rot. The treatment for root rot is opposite to the treatment for fertilizer burn, which means getting the diagnosis wrong makes the plant worse. This guide is built around that diagnostic problem first.
Calculator
Aquarium Plant Fertilizer Dosage Calculator
Calculate exact macro and micro fertilizer doses for your planted aquarium based on tank volume, plant density, CO2 system, and dosing strategy.
Plant Guide
Pilea peperomioides Chinese Money Plant
After raising and propagating over 200 Pilea peperomioides plants in typical dry, centrally heated homes and cold-windowsill environments over the past 9 years, we’ve learned exactly how to stop the winter leaf drop and keep the iconic coin leaves flat and vibrant.
Plant Guide
Syngonium Arrowhead Plant
After growing and propagating over 150 Syngonium specimens in dry, centrally heated homes and low-light Northern rooms over the past 9 years, we have perfected the watering, light, and humidity techniques that keep leaves compact and prevent the dreaded winter leaf drop.