Phalaenopsis Orchid Care Guide: How to Grow and Rebloom Moth Orchids Indoors (2026)
Most Phalaenopsis orchids are discarded after their first bloom cycle because their owners don't know what to do next. After growing and reblooming orchids across varying home environments, we can confirm that getting a second, third, and fourth bloom is straightforward — once you understand the one counterintuitive trigger the plant requires.
Quick Answer
Phalaenopsis Orchid Care Guide: How to Grow and Rebloom Moth Orchids Indoors: Most orchids are discarded after their first bloom because owners don't know the one counterintuitive trigger — a 10–15°F nighttime temperature drop for 4–6 weeks — that signals the plant to produce a new spike. This guide covers the complete rebloom process, correct watering in bark medium, reading root...
Why Most Orchids Never Bloom a Second Time
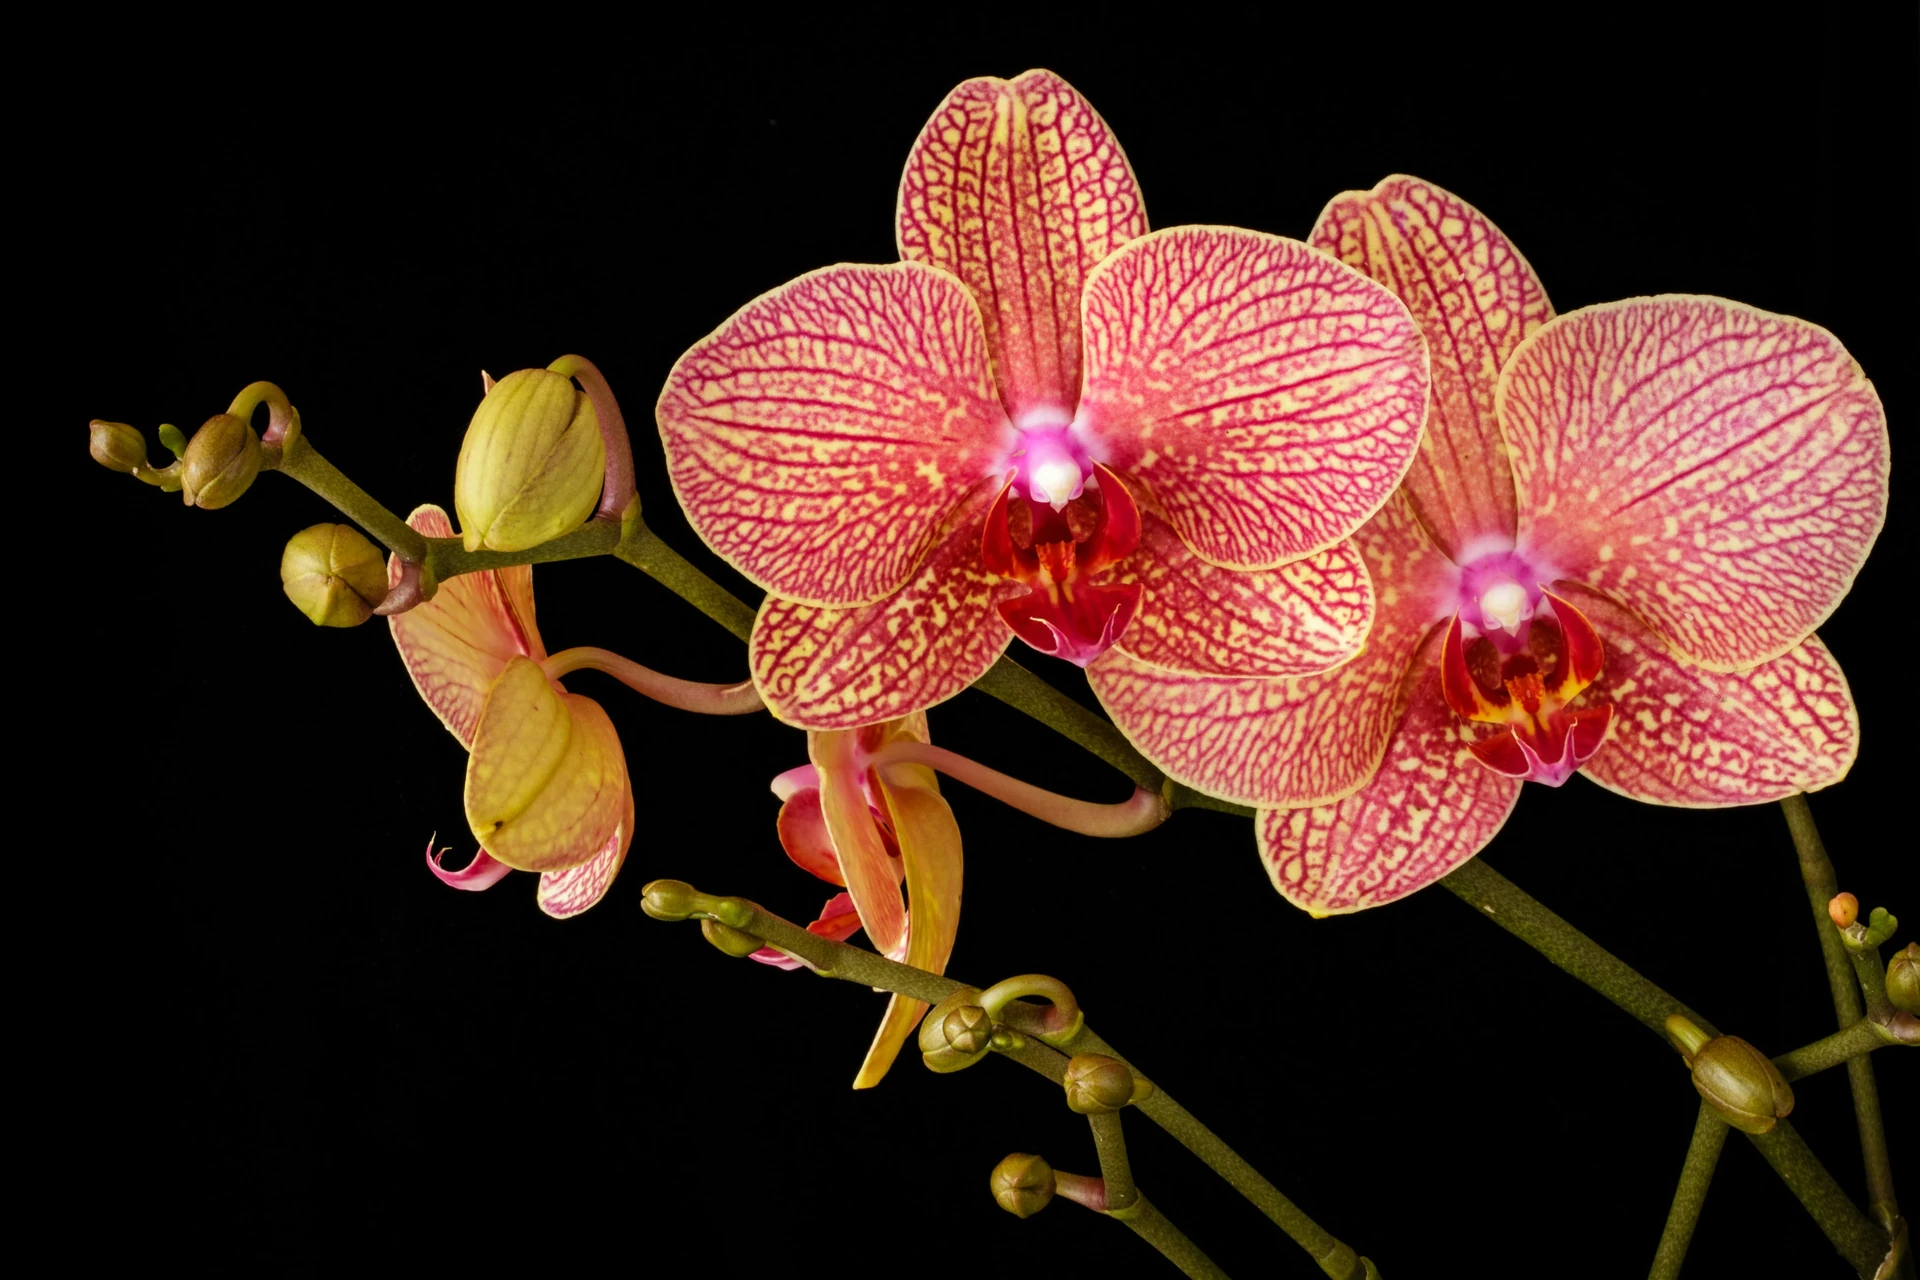
Phalaenopsis orchids — commonly called moth orchids — are the most purchased and most gifted houseplant on earth. They are also among the most discarded. The reason is almost never pest damage, disease, or neglect in the conventional sense. It is a single missing piece of information: Phalaenopsis will not produce a new flower spike without a meaningful drop in nighttime temperature. Without that specific environmental signal, the plant simply grows leaves and roots indefinitely, looking healthy but refusing to bloom. Once you understand this trigger — and the handful of care details that support it — reblooming a Phalaenopsis becomes entirely predictable.
Understanding the Phalaenopsis Growth Cycle
Phalaenopsis orchids grow in two distinct phases that alternate throughout the year. During the vegetative phase, the plant produces new roots and one or two new leaves from its base, building energy reserves. During the reproductive phase — triggered by environmental cues rather than a fixed calendar — it initiates a new flower spike. A single spike takes 8–16 weeks from initiation to full bloom and holds flowers for 2–4 months before the blooms drop. Understanding which phase your plant is in determines exactly what it needs from you right now.
Essential Care Requirements
Temperature
65–85°F (18–29°C) during the day. The critical detail that most growers miss: Phalaenopsis requires night temperatures of 55–65°F (13–18°C) — a differential of at least 10–15°F from daytime highs — sustained for 4–6 weeks to trigger spike initiation. In practice, this happens naturally when nighttime temperatures drop in early autumn. Moving the plant to a cooler room or near a window at night during September and October is the most reliable way to engineer this trigger in a climate-controlled home.
Humidity
50–70% is ideal. Phalaenopsis are epiphytes — in their native Southeast Asian habitat they grow anchored to tree branches with roots exposed to warm, humid air. Indoor heating drops humidity dramatically in winter, often below 30%, which causes aerial root tips to shrivel and desiccate. A pebble tray filled with water placed under the pot provides adequate ambient humidity for most home conditions.
Light
Bright indirect light. An east-facing windowsill is the ideal location — soft morning sun without the intensity that causes bleaching or burning. A shaded west or south window works well if the plant is set back 2–3 feet from the glass. Correct light levels produce thick, dark green to slightly yellow-green leaves. Dark, deeply green leaves indicate too little light. Yellow, washed-out, or spotted leaves indicate too much direct sun. Never place a Phalaenopsis on a north-facing windowsill — the light is insufficient for any meaningful growth.
Watering
Water thoroughly every 7–10 days during active growth, allowing the bark medium to approach dryness between waterings. The simplest and most reliable method is the lift test: a dry pot is noticeably lighter than a watered one. The popular ice cube watering method is not recommended — ice causes localized cold stress to roots that evolved in warm tropical environments. Instead, water at the sink, letting room-temperature water run through the bark for 20–30 seconds, then allow the pot to drain completely before returning it to its saucer. Never let the pot sit in standing water. Reduce watering frequency slightly during winter when growth slows, but never allow the bark to remain bone dry for more than 2 weeks.
Potting Medium
Phalaenopsis must never be planted in standard potting soil. Their roots are epiphytic — designed to grip bark and absorb moisture and oxygen from humid air, not to be submerged in dense wet substrate. Use a coarse orchid bark mix, which drains almost immediately while retaining enough residual moisture. Bark degrades over 18–24 months into a fine, dense, water-retaining mass that suffocates roots and causes the root rot that kills most orchids. If your orchid has been in the same medium for more than two years, repotting into fresh bark is the single highest-impact thing you can do for it.
Reading Your Orchid's Roots: The Single Most Useful Skill
Phalaenopsis roots communicate the plant's moisture status visually in a way few other houseplants do. Healthy, well-hydrated roots appear bright green or greenish-white immediately after watering. As the bark dries over the following days, roots return to a silver-grey color — this is normal and indicates the plant is ready for water. Roots that are persistently grey for weeks without returning to green after watering, or that feel papery and hollow, indicate underwatering or damaged root tissue. Roots that are brown and mushy, with a soft, collapsing texture, indicate root rot from overwatering or degraded bark. A clear plastic nursery pot — the kind most orchids come in — makes this assessment instantaneous without disturbing the plant.
The Reblooming Guide: How to Trigger a New Spike
After the last bloom drops, do not discard or drastically cut your orchid. Follow this sequence precisely:
- Assess the spent flower spike. If it remains green and firm, cut it back to just above the lowest visible node — the small bump along the stem. The plant may produce a secondary branching spike from this node, though the resulting blooms are typically smaller and fewer than a primary spike. If the spike has turned yellow or brown, cut it to within 1 inch of the base — this signals the plant to redirect all energy into the next vegetative phase.
- Reduce watering slightly and stop fertilizing for 6–8 weeks to allow the plant to rest and consolidate energy into its leaves and root system.
- From September through November, move the plant to a location where night temperatures drop to 55–65°F (13–18°C). A bedroom window, unheated sunroom, or spot away from heating vents works well. Continue normal daytime care.
- Watch for a new spike emerging from the base of the plant or between the lowest two leaves. A developing spike has a pointed green tip, distinguishing it from a new root, which has a rounded, silver-capped tip. Do not mistake new root growth for a spike — both emerge from similar locations.
- Once the new spike reaches 3–4 inches, return the plant to its normal bright, warm location. Do not rotate or move the plant again during spike development — Phalaenopsis orient their spikes toward the light source and repositioning causes the spike to kink or contort as it adjusts.
- Resume normal watering and fertilizing as the spike develops.
Fertilizing Phalaenopsis
Orchid growers follow the principle of fertilizing "weakly, weekly" — applying a balanced, water-soluble fertilizer at one-quarter of the recommended strength every time you water during the active growing season (March through September). A formulation balanced in nitrogen, phosphorus, and potassium (such as 20-20-20 diluted to quarter strength) supports both leaf growth and root development. Some growers switch to a higher-phosphorus formula (such as 10-30-20) during the 4–6 weeks before the expected spike season to support flower initiation, though consistent light and the temperature differential are far more influential than fertilizer composition. Stop fertilizing entirely during winter rest and during active bloom — the plant's resources are fully committed to flowering and additional feeding can cause salt burn at the root tips.
Repotting Guide
Repot every 18–24 months in fresh orchid bark, regardless of whether the plant has outgrown its container. Bark degradation, not root crowding, is the primary reason to repot. The ideal time is immediately after the blooms drop and before a new spike initiates. Select a clear plastic pot only 1–2 inches larger than the root ball, or the same size if the bark is the primary concern. Gently remove all old bark from the roots, trim any brown or mushy roots with clean, sterile scissors, and dust cuts with cinnamon as a natural antifungal. Settle fresh bark around the roots without packing tightly — air circulation through the medium is as important as the medium itself.
Aerial Root Care
The thick, rope-like roots that extend outward over the rim of the pot and into the air are completely normal and healthy. Do not cut them, bury them, or attempt to push them back into the pot. These aerial roots absorb moisture from the air and contribute meaningfully to the plant's overall health. Misting them lightly when they appear grey and desiccated is beneficial. Cutting aerial roots creates open wounds that invite bacterial rot, and burying them in bark denies them the air circulation they require.
Toxicity
Phalaenopsis orchids are non-toxic to cats, dogs, and humans, making them one of the few flowering houseplants that can be placed without concern in homes with pets or young children. The potting bark and fertilizers used should still be kept away from pets.
Common Problems & Solutions
- Yellow leaves: The natural loss of the oldest, lowest leaf occurs every few months as the plant sheds older foliage — one yellowing leaf is rarely cause for concern. Rapid yellowing of multiple leaves simultaneously, or yellowing that progresses upward from the base, indicates overwatering or root rot. Remove the plant from its pot, inspect roots, and repot in fresh bark if roots are mushy or brown.
- Crown rot: Water pooling in the crown — the central growing point between the leaves — causes bacterial rot that can kill the plant within days. Always water at the base rather than overhead, and if water does collect in the crown, tilt the plant immediately to drain it and allow the area to dry completely. Water in the morning so any residual moisture evaporates during the day.
- Shriveled leaves and pseudobulbs: Dehydration from severe underwatering, damaged roots that cannot transport water, or root rot that has destroyed absorptive capacity. Check roots before increasing watering — adding water to a plant with rotten roots worsens the problem. Healthy but dehydrated plants recover within 1–2 weeks of consistent watering.
- Failure to produce a new spike after 12 months: Almost always a temperature problem. The plant has not received sufficient nighttime cooling to trigger reproductive signaling. Move to a cooler location at night for 4–6 weeks in autumn and monitor for new spike development.
- Scale insects and mealybugs are the most common orchid pests. Inspect the undersides of leaves and the base of spikes monthly. Treat with isopropyl alcohol applied with a cotton swab directly to the pests, or with diluted neem oil applied carefully to avoid getting it on open blooms.
Propagation Steps
- Identify a healthy stem or section of the plant.
- Using sterilized shears, make a clean cut below a node.
- Place the cutting in water or a well-draining propagation mix.
- Keep in high humidity and bright indirect light until roots form (usually 3-4 weeks).
Soil
Use a chunky, well-draining potting mix containing peat, perlite, and orchid bark to allow roots to breathe.
Recommended next actions
Next Best Actions
Move from reading to action with related calculators, plant profiles, and quiz-based recommendations.
Calculator
Humidity Calculator
Assess your home's current humidity and get specific improvement recommendations for tropical houseplants like Calatheas, Orchids, and Ferns.
Calculator
Watering Calculator
Calculate the correct watering frequency for your plant based on species, pot size, soil type, season, and climate.
Guide
Tap Water for Houseplants: Which Plants Are Sensitive and What to Use Instead
Most houseplants tolerate tap water without issue — but a specific group of fluoride-sensitive and mineral-sensitive plants develop brown leaf tips, bleached patches, and stunted growth from ordinary municipal water. This guide explains the chemistry, identifies which plants are actually at risk, and gives you the cheapest effective fix for each scenario.
Calculator
Aquarium Plant Fertilizer Dosage Calculator
Calculate exact macro and micro fertilizer doses for your planted aquarium based on tank volume, plant density, CO2 system, and dosing strategy.
Plant Guide
African Violet
African Violets are classic indoor bloomers, but their fuzzy leaves demand a unique watering approach. We break down the 'bottom-watering' technique essential for preventing crown rot and triggering year-round flowers.
Plant Guide
Anthurium Flamingo Flower
After growing and forcing rebloom on over 180 Anthurium specimens in dry, centrally heated homes and offices across the UK and North America over the past 10 years, we have unlocked the precise light, humidity, and feeding triggers that keep these tropical beauties in constant flower.